These 3 Simple Exercises Can Save Your Back After Baby Feeding! Try Them Today!
Hi, everyone. Dr. Samantha Szyska here at Cornerstone Health, the perinatal specialist here. Today we’re gonna go over a three step guide for loosening up your back after you feed your baby. Very important, everyone has to do it. We want to make sure you’re comfortable while doing it, and comfortable after, because if you’re comfortable, your baby’s more likely to be comfortable as well.
Exercise #1 Bruegger’s stretch:
Hi, everyone, we’re gonna go over our first exercise in our three steps of loosening up your back after you feed your baby. This one is called Bruegger’s Stretch. We use it a lot because it helps open up your chest after you’ve been hunched over and your shoulders have been rounded in. So, what we’re gonna be simply doing, it’s gonna be nice tall neutral spine, you’re gonna be breathing into your abdomen. PQ here is doing a great job, she’s already gonna open up her hands, stretching her forearms, bringing her fingers nice and long towards the ground, drawing her arms down. She’s gonna feel a stretch through the front of her chest into her arms. So this is gonna help combat all the flexion you guys are doing. Extension, you’re gonna bring your sternum out, and then we’re going to hold this position for three breaths, and then you’re gonna repeat it five times. We’ll have her turn so you can kind of see a side view. So nice extension through the arms and chest, fingers nice and extended out. And then we’re gonna rotate one more time so you can see just the back view how she’s getting a good extension through her mid-back, stretching through the chest, arms down and long. Okay, we’re gonna continue on our three steps, to opening up your chest after a baby feeding.
Exercise # 2 Prayer stretch:
This next one is either called Prayer Stretch or lean on either a wall or a box. It can be modified to a wall version as well. So, what we’re gonna be doing, you can use a pad underneath your knees if that’s uncomfortable for you. We’re gonna start off with our knees underneath our hips. You can use a chair, a couch, a desk, this can be modified for the wall. But your elbows are gonna be on with it, your hands can be kind of free doing whatever you like. The main focus of this is gonna be stretching kind of underneath the armpit region and in through the mid-back specifically. So, what PQ is gonna be doing here, she’s gonna maintain a nice neutral spine, she’s gonna slide her hips back, dropping her chest and sternum towards the ground, maintaining neutral through the back here. She’s really trying to get her sternum, her chest bone, to the ground. She’s feeling it underneath her armpits and in through the back. You’re gonna hold for about five seconds, you’re gonna repeat this four times, and you’re gonna do it about three times throughout the day. Okay, so we’re going through the three steps for stretching out your chest after feeding your baby. We’re gonna finish with this one.
Exercise # 3 Tripod Rotation:
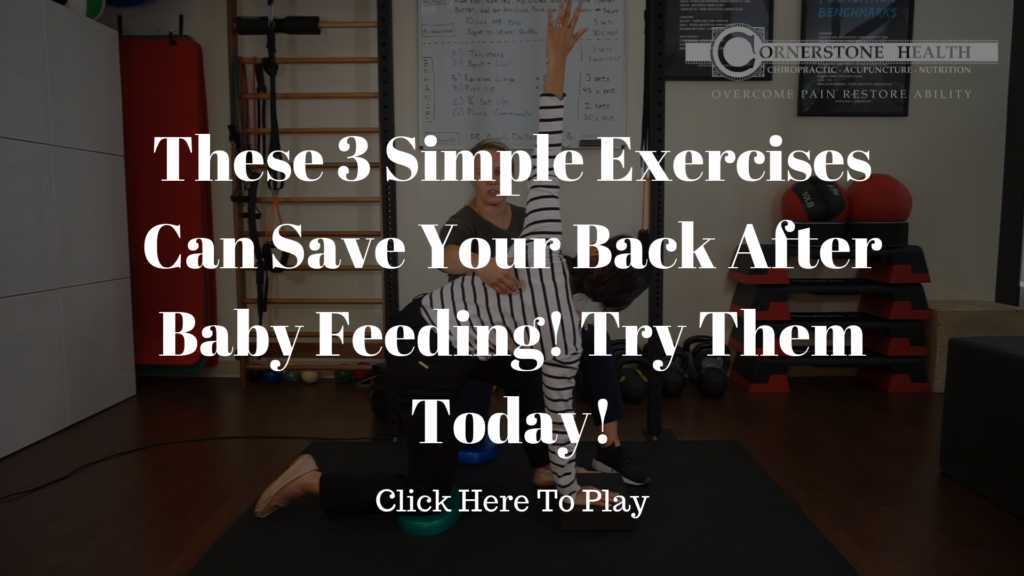
This one is called Tripod Rotation. You want to think, how can I make a tripod with my body? This can be modified to an elevated version, a wall version. I like the floor version best. It’s easy to be done when your baby’s already doing tummy time, you’re on the ground playing with your kid, see if they’ll even do it with you. So, we’re gonna think, how can we make a tripod with our body? We’re gonna keep our right knee down. You can ball something up at home if you have knee issues to make it a little bit more comfortable for you. Then PQ’s gonna bring her left leg up next to her hands. So she’s making a good tripod with her right knee, her left foot, and her right hand. She’s using her left hand right now just for stability, but she’s gonna be active with that hand next. So, within this stretch, you’re gonna be feeling it into the mid-back, and also possibly into the hip as well, so it’s a little bit of a double whammy here. So, what we’re gonna start with, PQ’s gonna bring this hand all the way up towards the ceiling, she’s maintaining a good– She’s keeping this hip in, and she’s trying to get these arms, there we go, nice and even to make a nice straight line. Keeping strong in that shoulder so it’s not dipping into that shoulder. It’s a really common area, people will say, “Oh, it hurts my shoulder.” You want to be strong through your arms here, making ideally a nice straight line, getting a stretch through here, a stretch through the hip. You can take a break. We’re gonna hold that position for about 10 seconds. You’re gonna do about 10 on each side, and you’re gonna repeat this at least three times a day. PQ practices this a lot, so she’s really good at it already. If you’re not that perfect at home yet, that’s okay, keep practicing. The basic principles, we want to get a good stretch through our mid-back, our hip, keeping the hip closest to me in line right now, we’re not letting it flay, and then we’re gonna keep strong through the shoulders. This will get easier. One side may be harder than the other, that’s okay, we’ll keep practicing.


