The One Exercise You Need To Learn Today If You Are Experiencing Low Back Pain!
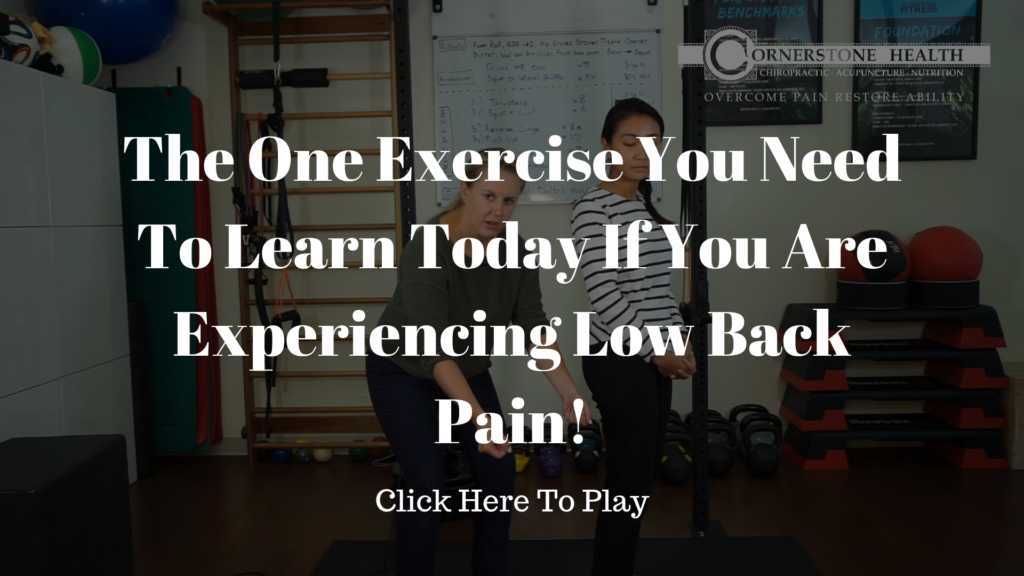
Hi everyone. My name is Dr. Samantha Szyska, and today during our video, we’re gonna continue with going over pain during pregnancy. We’re gonna cover low back pain, where it is, what we can do for it, and a quick change that you can make at home for it.
Hi, everyone. My name is Dr. Samantha Szyska, here at Cornerstone Health. Thank you for tuning in. We’re gonna continue with our pain during pregnancy series. Today, we’re gonna talk about low back pain. Low back pain is very common, but doesn’t mean that it’s normal, nor do you have to live with it. A lot of my pregnant patients are like, oh, yeah, I’ve always had low back pain, or, oh, yeah, it’s only nine months, it’s okay, I’ll deal with it and then it’ll be over. It’s not true. You need to be able to adapt during those nine months, you should enjoy your pregnancy, and not be in pain during it.
So what we’re gonna talk about today are some common issues that arise during low back pain with pregnancy, and then we’re gonna give you some ways that you van help relieve it at home. Here in our clinic, what we look at when our patients come in, we do a thorough examination, and then what I look at, is I’m gonna see what is the cause of that low back pain. Is it neurological, is it structural, is it postural, are your hormones, because as we’re growing your hormones are changes, as our stomach is increasing and the belly is growing, as your baby is growing, your posture is changing.
A lot of individuals will change their workouts during pregnancy. We wanna help you moving better so you can enjoy your pregnancy, and also so you can have a good post partum healing process. Okay, we’re gonna go over some common areas of low back pain, and we’re gonna give you a quick little exercise in an adaptation that you can do at home. We have our great model here today, PQ. So we’re gonna first show exactly where low back pain is. So I’m gonna have you turn. So low back pain is very common, but everyone has a different definition of it.
For my definition, I’m looking at a couple inches below the scapula, to about the top of the glutes, or the belt line. Most common within my pregnant population, I hear it’s right above my belt line, kind of at the beginning of like, the glutes and the gluteal area. It can wrap around to the front of the hips, it can go down into the glutes, or it can go up into the back. But mostly, it starts right through here. I’m gonna have you turn around. So whenever I see a lot my patients with low back pain, especially, they’ll say, when I’m lifting to pick something up, whether it’s laundry, whether it’s groceries, their other children, a backpack at work, I always say, let me see how you lift and pick it up.
A common way that a lot of people will lift and pick things up, is they’ll lift down. So I’ll have you lift down, and they round, excessively through their back. When they go to stand up, they use their back muscles to do that. We wanna make sure that you’re using your leg muscles. Your leg muscles, your glutes, your hamstrings, your quads are way stronger than the muscles, these strappy muscles, that run across your back. So an exercise and way that you check at home is see when you’re lifting your child, the laundry, take a look in the mirror. Are we rounding, are we doing it through our glutes, do you feel it in your back?
Exercise #1 Hip Hinge:
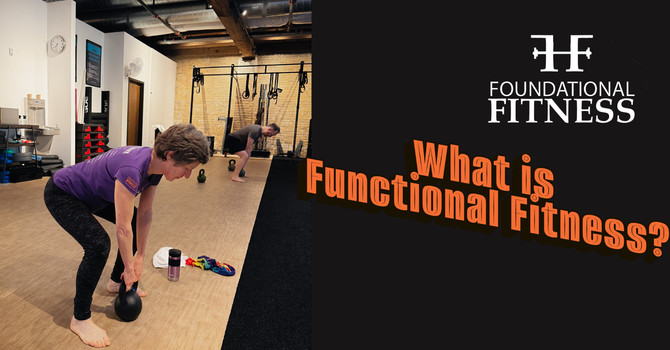
So one of the ways that you can help is to learn how to hip hinge. There are multiple ways of learning how to pick something up. It’s either through their squat or a hip hinge. Today we’re gonna go over the hip hinge. This is like when you’re lifting something out of the oven, brushing your teeth, washing your face, lifting something that’s not quite on the ground but a little bit off of it. So to learn for the hip hinge, PQ’s doing a great job right now, she’s gonna have her feet a little bit wider than shoulder. We always wanna do everything in an athletic position. She’s gonna have a good stance on her feet with the floor. So she’ll have a good spread into her toes. You don’t wanna be up on your toes, back, or on the outsides.
You wanna have a good, equal weight distribution. Her knees are gonna be right over her second and third toe. We don’t want her knees bowing out, we don’t want them in like that, we want a good, stable base. When you buy a house, you always check the foundation first. We gotta make sure we have a good foundation. Perfect. So now as we said, it’s called a hip hinge, or in our weight lifting world, a dead lift, if you’re more familiar with that.
The majority of the motion’s gonna be happening at our hips. So she’s gonna start off with just a slight bend in her knees, then she’s gonna pretend like there’s a pole right through her hips. So she’s gonna rotate over that pole. So another common mistake with this is we will bend too far forward, and everyone’s like, oh, I feel like I’m gonna fall forward. You need to be able to shift your weight back so your center of gravity is in the center. If I go like that, I’m gonna fall forward. We wanna make sure that that doesn’t happen.
So PQ’s doing a great job, good feet spread, knees over second and third toe, slight bend in her knees. We’re gonna maintain a nice neutral spine through here. So she’s gonna tuck her tailbone slightly, good, and then she’s gonna pretend there is a pole straight through her hips, she’s gonna bend right around that pole, shifting her weight back further, further, further, good. Maintaining a beautifully neutral spine. She’s gonna feel some tension into her hamstrings and her glutes, that’s exactly where you wanna feel it. Then she’s gonna push the ground away from her and drive up. Good. Not using her back muscles.
See how that was a much better neutral spine instead of one when you bend forward and you use your back muscles. That, you’re gonna feel it all through your legs into your glutes. That’s exactly how I want you brushing your teeth, washing your face, getting out of the oven. It’ll take pressure off of your back and make you use the posterior muscles to make you nice and strong throughout the rest of your pregnancy. If you have any questions or concerns, if you suffer with any of these low back pains, or wanna see how can I, you know, it hurts when I do x, y, and z, give us a call, and let’s get you in for a consultation.
Exercise #1 Bruegger’s stretch:
Hi, everyone, we’re gonna go over our first exercise in our three steps of loosening up your back after you feed your baby. This one is called Bruegger’s Stretch. We use it a lot because it helps open up your chest after you’ve been hunched over and your shoulders have been rounded in. So, what we’re gonna be simply doing, it’s gonna be nice tall neutral spine, you’re gonna be breathing into your abdomen. PQ here is doing a great job, she’s already gonna open up her hands, stretching her forearms, bringing her fingers nice and long towards the ground, drawing her arms down. She’s gonna feel a stretch through the front of her chest into her arms. So this is gonna help combat all the flexion you guys are doing. Extension, you’re gonna bring your sternum out, and then we’re going to hold this position for three breaths, and then you’re gonna repeat it five times. We’ll have her turn so you can kind of see a side view. So nice extension through the arms and chest, fingers nice and extended out. And then we’re gonna rotate one more time so you can see just the back view how she’s getting a good extension through her mid-back, stretching through the chest, arms down and long. Okay, we’re gonna continue on our three steps, to opening up your chest after a baby feeding.
Exercise # 2 Prayer stretch:
This next one is either called Prayer Stretch or lean on either a wall or a box. It can be modified to a wall version as well. So, what we’re gonna be doing, you can use a pad underneath your knees if that’s uncomfortable for you. We’re gonna start off with our knees underneath our hips. You can use a chair, a couch, a desk, this can be modified for the wall. But your elbows are gonna be on with it, your hands can be kind of free doing whatever you like. The main focus of this is gonna be stretching kind of underneath the armpit region and in through the mid-back specifically. So, what PQ is gonna be doing here, she’s gonna maintain a nice neutral spine, she’s gonna slide her hips back, dropping her chest and sternum towards the ground, maintaining neutral through the back here. She’s really trying to get her sternum, her chest bone, to the ground. She’s feeling it underneath her armpits and in through the back. You’re gonna hold for about five seconds, you’re gonna repeat this four times, and you’re gonna do it about three times throughout the day. Okay, so we’re going through the three steps for stretching out your chest after feeding your baby. We’re gonna finish with this one.
Exercise # 3 Tripod Rotation:
This one is called Tripod Rotation. You want to think, how can I make a tripod with my body? This can be modified to an elevated version, a wall version. I like the floor version best. It’s easy to be done when your baby’s already doing tummy time, you’re on the ground playing with your kid, see if they’ll even do it with you. So, we’re gonna think, how can we make a tripod with our body? We’re gonna keep our right knee down. You can ball something up at home if you have knee issues to make it a little bit more comfortable for you. Then PQ’s gonna bring her left leg up next to her hands. So she’s making a good tripod with her right knee, her left foot, and her right hand. She’s using her left hand right now just for stability, but she’s gonna be active with that hand next. So, within this stretch, you’re gonna be feeling it into the mid-back, and also possibly into the hip as well, so it’s a little bit of a double whammy here. So, what we’re gonna start with, PQ’s gonna bring this hand all the way up towards the ceiling, she’s maintaining a good– She’s keeping this hip in, and she’s trying to get these arms, there we go, nice and even to make a nice straight line. Keeping strong in that shoulder so it’s not dipping into that shoulder. It’s a really common area, people will say, “Oh, it hurts my shoulder.” You want to be strong through your arms here, making ideally a nice straight line, getting a stretch through here, a stretch through the hip. You can take a break. We’re gonna hold that position for about 10 seconds. You’re gonna do about 10 on each side, and you’re gonna repeat this at least three times a day. PQ practices this a lot, so she’s really good at it already. If you’re not that perfect at home yet, that’s okay, keep practicing. The basic principles, we want to get a good stretch through our mid-back, our hip, keeping the hip closest to me in line right now, we’re not letting it flay, and then we’re gonna keep strong through the shoulders. This will get easier. One side may be harder than the other, that’s okay, we’ll keep practicing.


